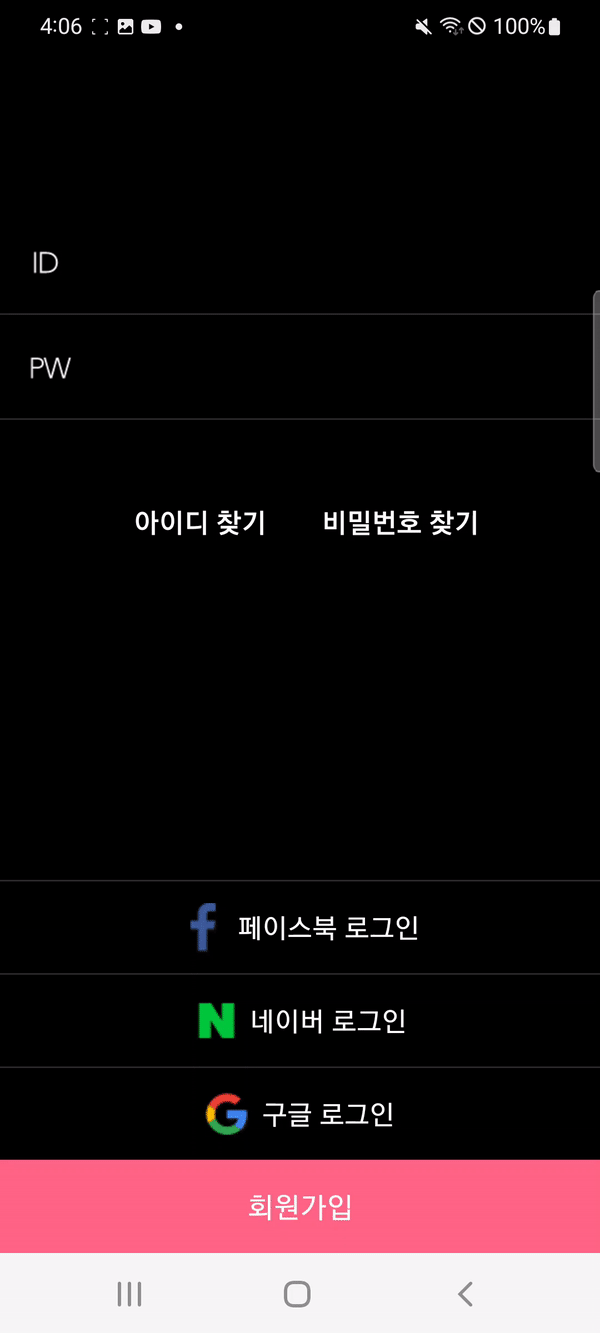
내가 만들고 싶은 기능
ID란에 적힌 text를 버튼 하나로 한 번에 clear하는 기능
예) 로그인 시 사용자가 id를 잘못 입력하였을 때, 버튼 한 번으로 한꺼번에 지울 수 있도록!
내가 만들고 싶은 기능의 결과물
솔루션
이 기능은 매우 간단히 구현 가능하다. TextInputLayout와 TextInputEditText를 사용하면 바로 구현이 가능하다.
<com.google.android.material.textfield.TextInputLayout
                     android:layout_width="match_parent"
                     android:layout_height="62dp"
                     android:layout_weight="1"
                     app:endIconMode="clear_text">

                     <com.google.android.material.textfield.TextInputEditText
                         android:id="@+id/login_id_input"
                         android:layout_width="match_parent"
                         android:layout_height="62dp"
                         android:layout_weight="2"
                         android:background="@null"
                         android:inputType="textNoSuggestions"
                         android:textColor="@color/white"
                         android:textSize="25dp">

                     </com.google.android.material.textfield.TextInputEditText>

                 </com.google.android.material.textfield.TextInputLayout>
위와 같이 레이아웃의 endIconMode의 속성의 clear_text를 사용하면 딱 내가 원하는 기능!
만약 텍스트를 지워주는 버튼을 자체적으로 custom하고싶다면?
      <com.google.android.material.textfield.TextInputLayout
            android:layout_width="match_parent"
            android:layout_height="62dp"
            android:layout_weight="1"

            app:endIconMode="clear_text">

            <com.google.android.material.textfield.TextInputEditText
                android:id="@+id/id_layout_textInputEditText"
                android:layout_width="match_parent"
                android:layout_height="62dp"
                android:layout_weight="2"
                android:background="@null"
                android:inputType="textNoSuggestions"
                android:textColor="@color/white"
                android:textSize="25sp">

            </com.google.android.material.textfield.TextInputEditText>

        </com.google.android.material.textfield.TextInputLayout>
위와 같이 원하는 모양의 xml파일을 drawable폴더에 넣고 endIconDrawable속성을 사용하여 적용해준다.
예) app:endIconDrawable="@drawable/id_clear_btn"
여기서 더 나아가 해당 drawble소스의 이미지 크기를 조절하고 싶다면?
id_clear_btn.xml
<?xml version="1.0" encoding="utf-8"?>
<layer-list xmlns:android="http://schemas.android.com/apk/res/android">
    <item
        android:width="20dp"
        android:height="20dp"
        android:bottom="@dimen/padding_bottom"
        android:drawable="@drawable/img"
        android:right="@dimen/fragment_vertical_margin"
        />
</layer-list>
위와 같이 drawable 파일에서 width와 height을 직접 지정해주자.
또한 padding을 넣는 것과 같은 기능을 넣고싶다면 우선 공백을 주고 싶은 부분(right)을 지정하고 @dimen을 사용해 그 크기를 조절하자.
여기서 @dimen에 기본적으로 들어가있는 사이즈들이 다 맘에 안든다면?
dimens.xml를 직접 커스텀 해서 만들어 주면 된다.
res → values → `dimens.xml`
[dimens.xml관련 자료]
안드로이드 크기 리소스 관리 (dimen)
안드로이드에서 사용하는 리소스중 위젯들의 크기를 선언하는 곳이 dimens.xml입니다. UI에...
blog.naver.com
REFERENCE
'📜 TIL' 카테고리의 다른 글
| [Android] 로그인 시 아이디 패스워드 유효성 검사하는 로직 만들기 (1) | 2023.02.15 |
|---|---|
| [Android] 패스워드 아이콘이 글자가 존재할 때만 보이도록 만들기 (0) | 2023.02.13 |
| [Android] Fragment에서 ViewBinding 사용법 (0) | 2023.02.09 |
| [iOS] iOS 어플리케이션을 배포하는 4가지 방식 간단-정리 (0) | 2022.10.29 |
| [Android] 루트 액티비티(Root Activity) & 어플리케이션 클래스(Application class) 간단히 알아보자 (0) | 2022.10.26 |